Making A Glass Dip Pen
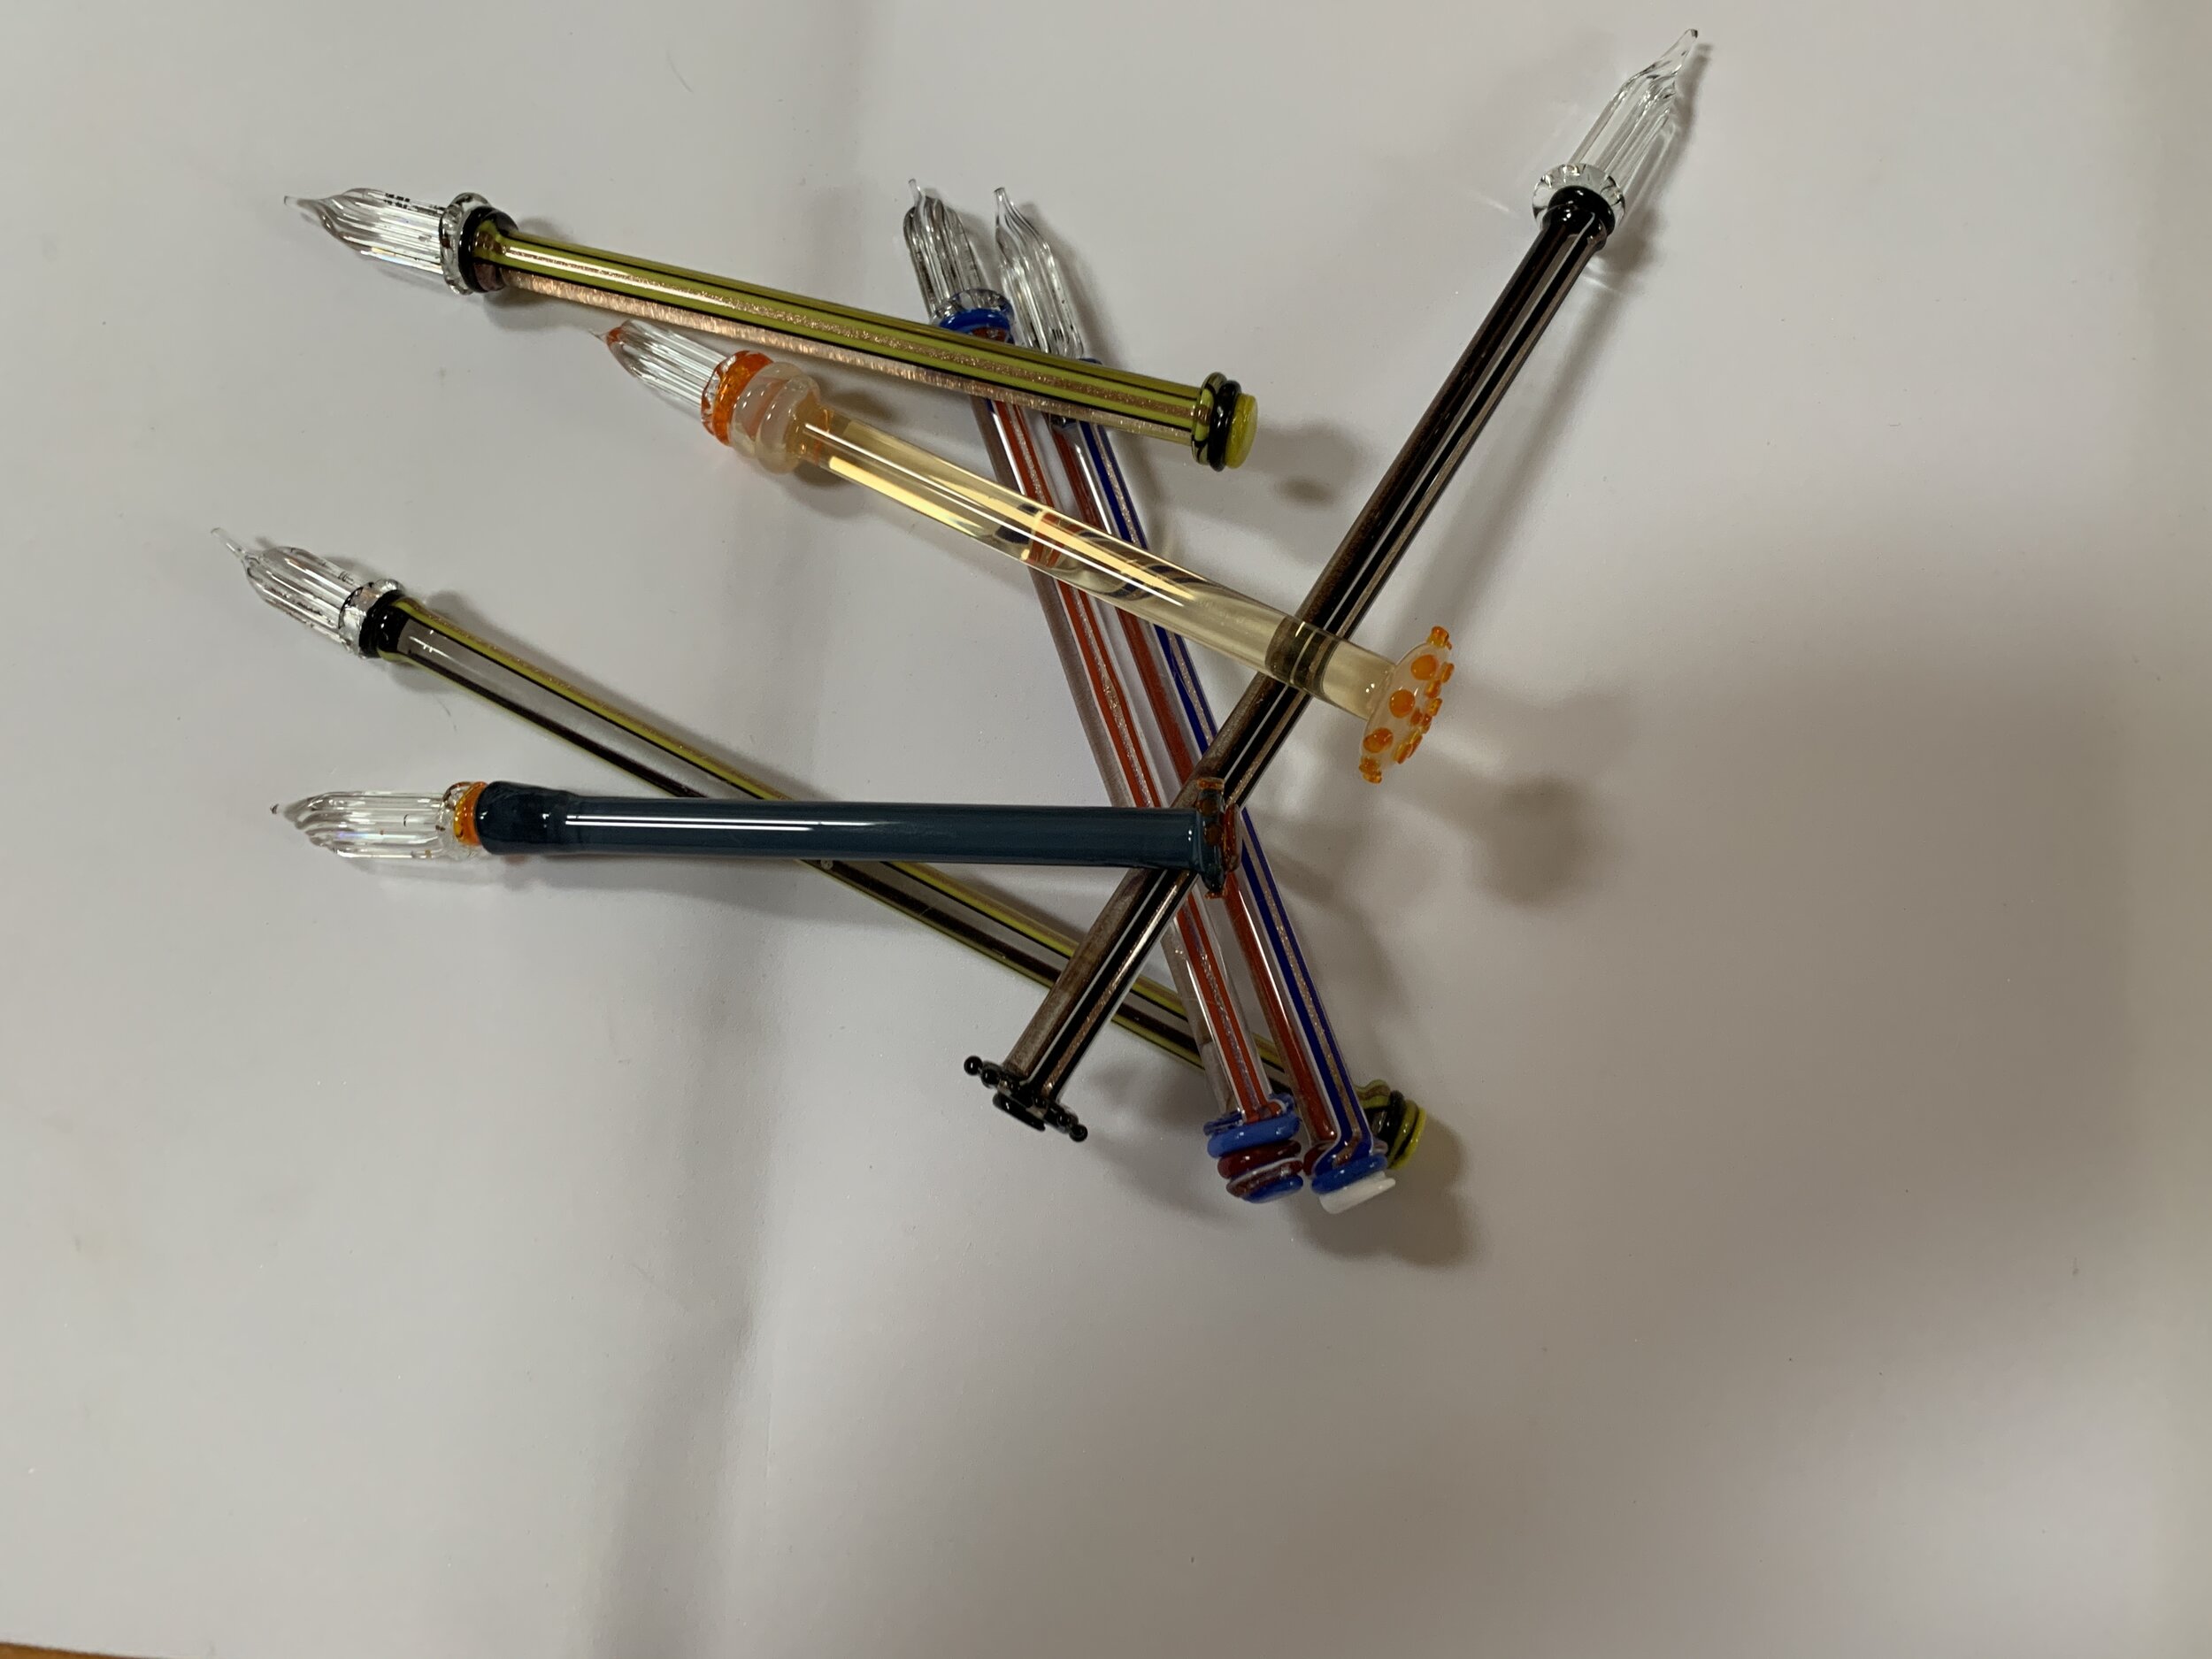
So what else can you do with a glass rod? You can make a glass pen that you dip in India ink and use it to write or draw.
“Creating a dip pen adds to the repertoire of what you make using glass rods, a torch and a kiln.”
What Equipment Do You Need?
I have a small studio where I make my beads.The equipment I use includes a propane tank, an oxygen concentrator (a machine which takes oxygen out of the air), a Nortel minor burner, and I have an Evenheat Pro Kiln.
What Supplies Do You Need?
All That Glass LLC located in Texas, sells dip ink pen kits for $9.99. The kit comes with ribbed glass rods, which are used for the tip of the pen, some striped rods and a variety of other single color rods. Doc Roberts has created a great video showing how to make the pen and you can find it on the All That Glass Facebook site. This kits is made with Lauscha glass rods that originate in Germany.Sharon Rogers, the owner, is so knowledgable and helpful. Her husband, Dick makes sure you get your supplies quickly.
Step 1: Making the Nip of the Pen
I used the suggestions from Doc Roberts's video. I used a lower flame. I have worked with both the striped rod which can be a little shocky and have also used with Lauscha glass rods. I began by heating the tip of the rod and when it was glowing and soft, used my stainless steel paddle to flatten the end of the rod, about an 1/8 of an inch beyond the rod. I then heated a complementary color rod and added some to the top, much like I would add a big dot to a bead. When this was added, once again I used my paddle to flatten it. The amount of glass should measure about 1/4 of an inch. I then heated the ribbed rod, forming a circular top in it. In the flame, I also headed the tip of the rod that was the pen base, and once heated, pushed them together. I brought the two rods out of the flame and made sure that, the joint was straight. Once I was sure that the two rods were straight and had cooled slightly, I flip the ribbed rod in and out of the flame to heat the rod. The nib I decided would be an inch in length, so the ribbed rod, went into the flame after that measurement. Once in the flame, I rolled the rods back and forth, heating the rod. Once the glass was soft I pulled the the rod much the way you would pull a stringer. This left me a string of glass when I pulled out of the flame, and using smaller pliers, broke the nib. I used a stone to make sure that the nib was clean (as directed in the video). I placed the nib end of the pen in my bed kiln to anneal. Part 1 completed! I use an Evenheat Set Pro kiln and the temperature was set at 970 degrees. The tip stays in the kiln until it reaches room temperature.
P.S. I have also learned that depending how thick the nib is when you break it off, directly relates to how the the line is that you will write with. Such a fun project!
Step 2: Decorating the Top of the Pen
The following day, I decided that I would work on the other end of the pen, to give it a finished look. I heated the end of the rod using the reduced flame and using my paddle flattened it out. I took it out of the heat and decided on a secondary color to place on top, usually the color that I used to connect the nip to the pen. I heated that rod and swirled it on top of the pen, like I way making a BIG dot. Heated it again, and flattened evenly on top. I also decided on some to add more dots to the top, creating layers of glass. I thought it might be fun to have some with dots along the edge. I dotted them, much like I would a bead, turning the rod away from myself as I placed the dots on the top of the pen. I then heated the dots one or two at a time, and using a flat knife flattened them. I placed them place in the flame to polish the glass. Once completed my design for the top, I placed this end in my bead kiln to anneal. I think there are so many ways that you could finish the top, and have just begun to explore.


